I have often talked about having a classic layout, and being able to use it over and over to create a new look. Well this week I have a classic layout copied almost identically, just changing the colors, and a few of the greetings. I had posted this Graduation card a few weeks back. Then I posted it on my team group page and I got lots of compliments and people asking if they could CASE it. CASE is Copy and Share Everything. It is an honor to be CASEd by fellow demonstrators!

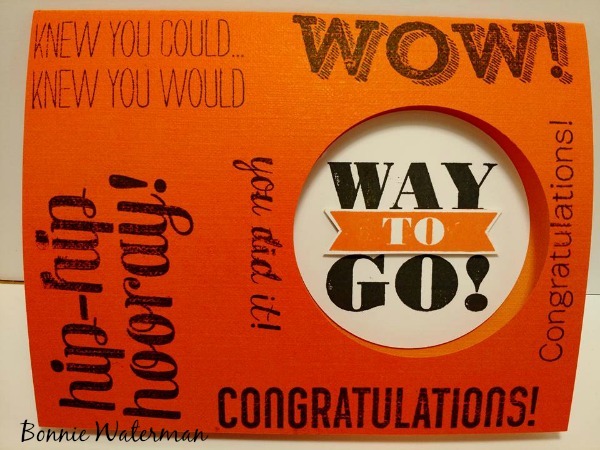
In the weeks since, my teammates have been flattering me by posting their version of my card. It is very humbling to have so many like my card design, that they are making their own versions of it to give as graduation cards this year too. Here are there versions: The first one to post was my dear friend and stamping sister Bonnie. Bonnie makes the most amazing designs, so it is so flattering to have her like one of my designs so much that she made her own version! Thanks friend! I am so touched!
The next one to post was my sweet teammate Julie. She is so talented and makes such exquisite designs that seeing her make a version of the card just made me want to cry. I love her work and am happy that she likes mine!

The last one to post was my long-distance teammate Jill who is such a HOOT to talk to in person but she is able to share her personality so well online! She also creates such fun projects for her stampers to make, that seeing her taking a turn at my design is just so flattering. It really, really is.

Thanks to all my stamping friends who have shared their version of this card with me! I hope it will inspire you as well, to take a card you like and make it into your own! Casing is the greatest compliment a stamper can get!


